I wanted a garden that was functional, low-maintenance, and visually interesting—especially on a slightly sloped part of my yard. A tiered cinder block garden bed system turned out to be the perfect solution. It’s sturdy, affordable, and surprisingly easy to build with basic tools. Here’s how I did it, step by step.
Why I Chose Cinder Blocks
Cinder blocks are inexpensive, widely available, and durable. Their uniform size makes planning easy, and the hollow cores can be filled with soil for extra planting space or stability. They also work well for tiered designs because they stack cleanly and handle soil pressure better than loose materials.
Planning the Layout
Before building, I mapped out the size and number of tiers. I measured the area and decided on three levels, each stepping back slightly to create a terraced effect. I dry-stacked a few blocks on the ground first to visualize spacing and height, which helped me adjust the design before committing.
Key planning considerations:
-
Sun exposure for plants
-
Drainage and slope direction
-
Access for watering and harvesting
-
Consistent block alignment for stability
Preparing the Ground
A solid base is critical. I removed grass and dug a shallow trench where the first tier would sit. After leveling the trench, I added a layer of compacted gravel to improve drainage and prevent shifting. I double-checked level across the entire base—this step makes everything else easier.
Building the First Tier
The bottom tier does most of the structural work. I placed the cinder blocks tightly together, ensuring they were level front to back and side to side. Once positioned, I backfilled behind the blocks with soil and lightly tamped it down to reduce movement.
Stacking the Upper Tiers
Each additional tier was built slightly set back from the one below it. This staggered design improves stability and creates a clean, stepped look. I aligned the blocks so vertical seams didn’t stack directly on top of each other, which helps distribute weight more evenly.
For extra strength, I filled some block cores with gravel and soil. In areas supporting heavier soil loads, this made a noticeable difference.
Filling and Planting
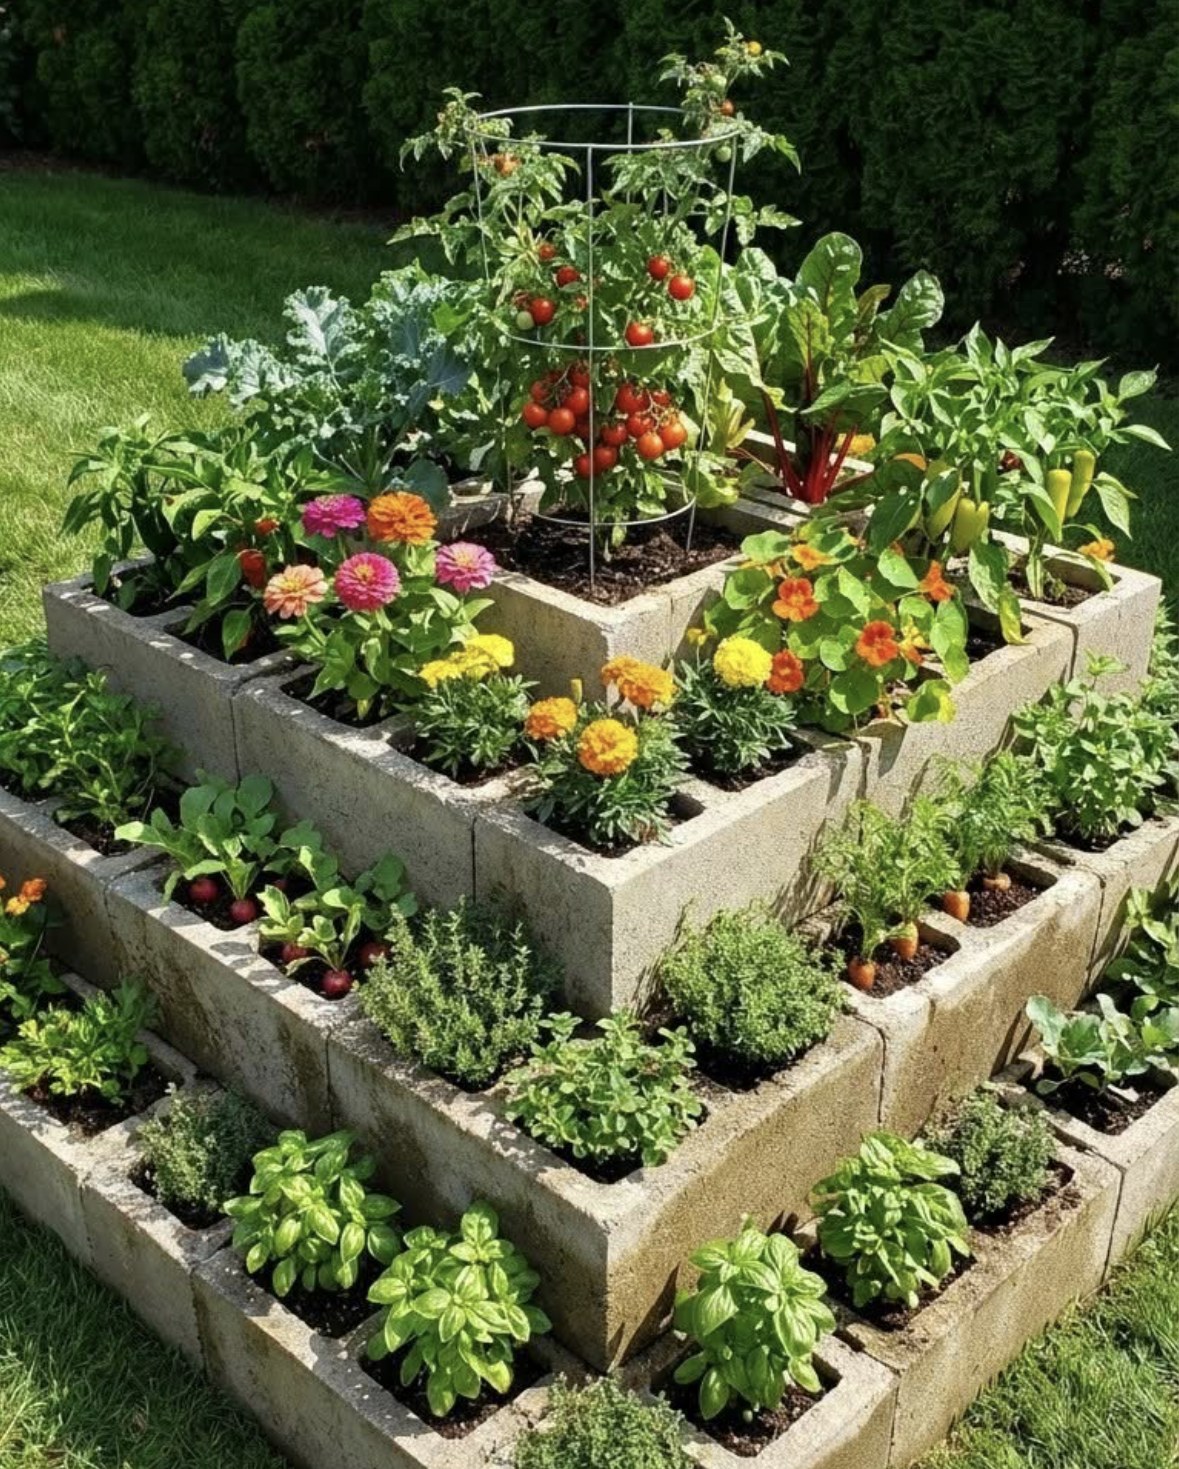
Once all tiers were in place, I filled the beds with a mix of topsoil, compost, and organic matter. Taller plants went in the lower tiers, while herbs and smaller plants worked well up top. I also planted flowers in some of the exposed block holes for added color.
Lessons Learned
-
Take extra time leveling the first row—it affects everything above it
-
Dry-stacking works well for garden beds, but proper backfill is essential
-
Tiered beds drain better than flat ones and are easier on the back
-
The block holes are perfect for herbs, strawberries, or pollinator plants
Final Thoughts
Building a tiered cinder block garden bed system was a rewarding DIY project that transformed an awkward section of my yard into a productive and attractive garden. It’s scalable, budget-friendly, and adaptable to many spaces. If you’re looking for a durable raised bed option with a bit of visual impact, this approach is well worth considering.
If you want, I can also:
-
Rewrite this in a more casual or more professional tone
-
Turn it into a step-by-step DIY guide
-
Adapt it for a video script or social media post