After months of hard work, planning, and countless DIY projects, the dream has finally come true. What was once a humble 12×28 shed has been fully transformed into a cozy, functional, and stunning home. The journey from the initial idea to the finished product has been nothing short of an adventure, and now, I’m excited to share the story of how I turned a simple shed into my sanctuary.
This shed-to-home conversion has been a passion project that has tested my creativity, skills, and patience. It wasn’t always easy, but it has been an incredibly rewarding process that allowed me to rethink what a home could be. Now that the transformation is complete, I want to walk you through the process, the challenges, and the triumphs that made this little shed into the perfect home.
The Starting Point: A Simple Shed
The transformation started with a basic 12×28 storage shed that I found on a piece of land I’d recently acquired. It wasn’t much to look at—just four walls, a roof, and a concrete floor. The idea of turning it into a livable space seemed daunting at first, but the potential was undeniable. The shed’s size and layout offered a blank canvas, allowing me to design the space according to my vision.
I knew I had to start with a strong foundation and a clear plan, so the first step was to thoroughly assess the structure of the shed. I needed to ensure that the foundation could support the weight of the additional materials and any fixtures I would add. Thankfully, the shed’s base was solid, and with a few reinforcements, it was ready to support the transformation.
Designing the Space: Function Meets Style
The first major hurdle in the shed-to-home conversion was designing the space. At just 12 feet by 28 feet, the layout would need to be highly efficient to create a livable and comfortable home. The goal was to maximize the available space while maintaining a cozy and stylish aesthetic.
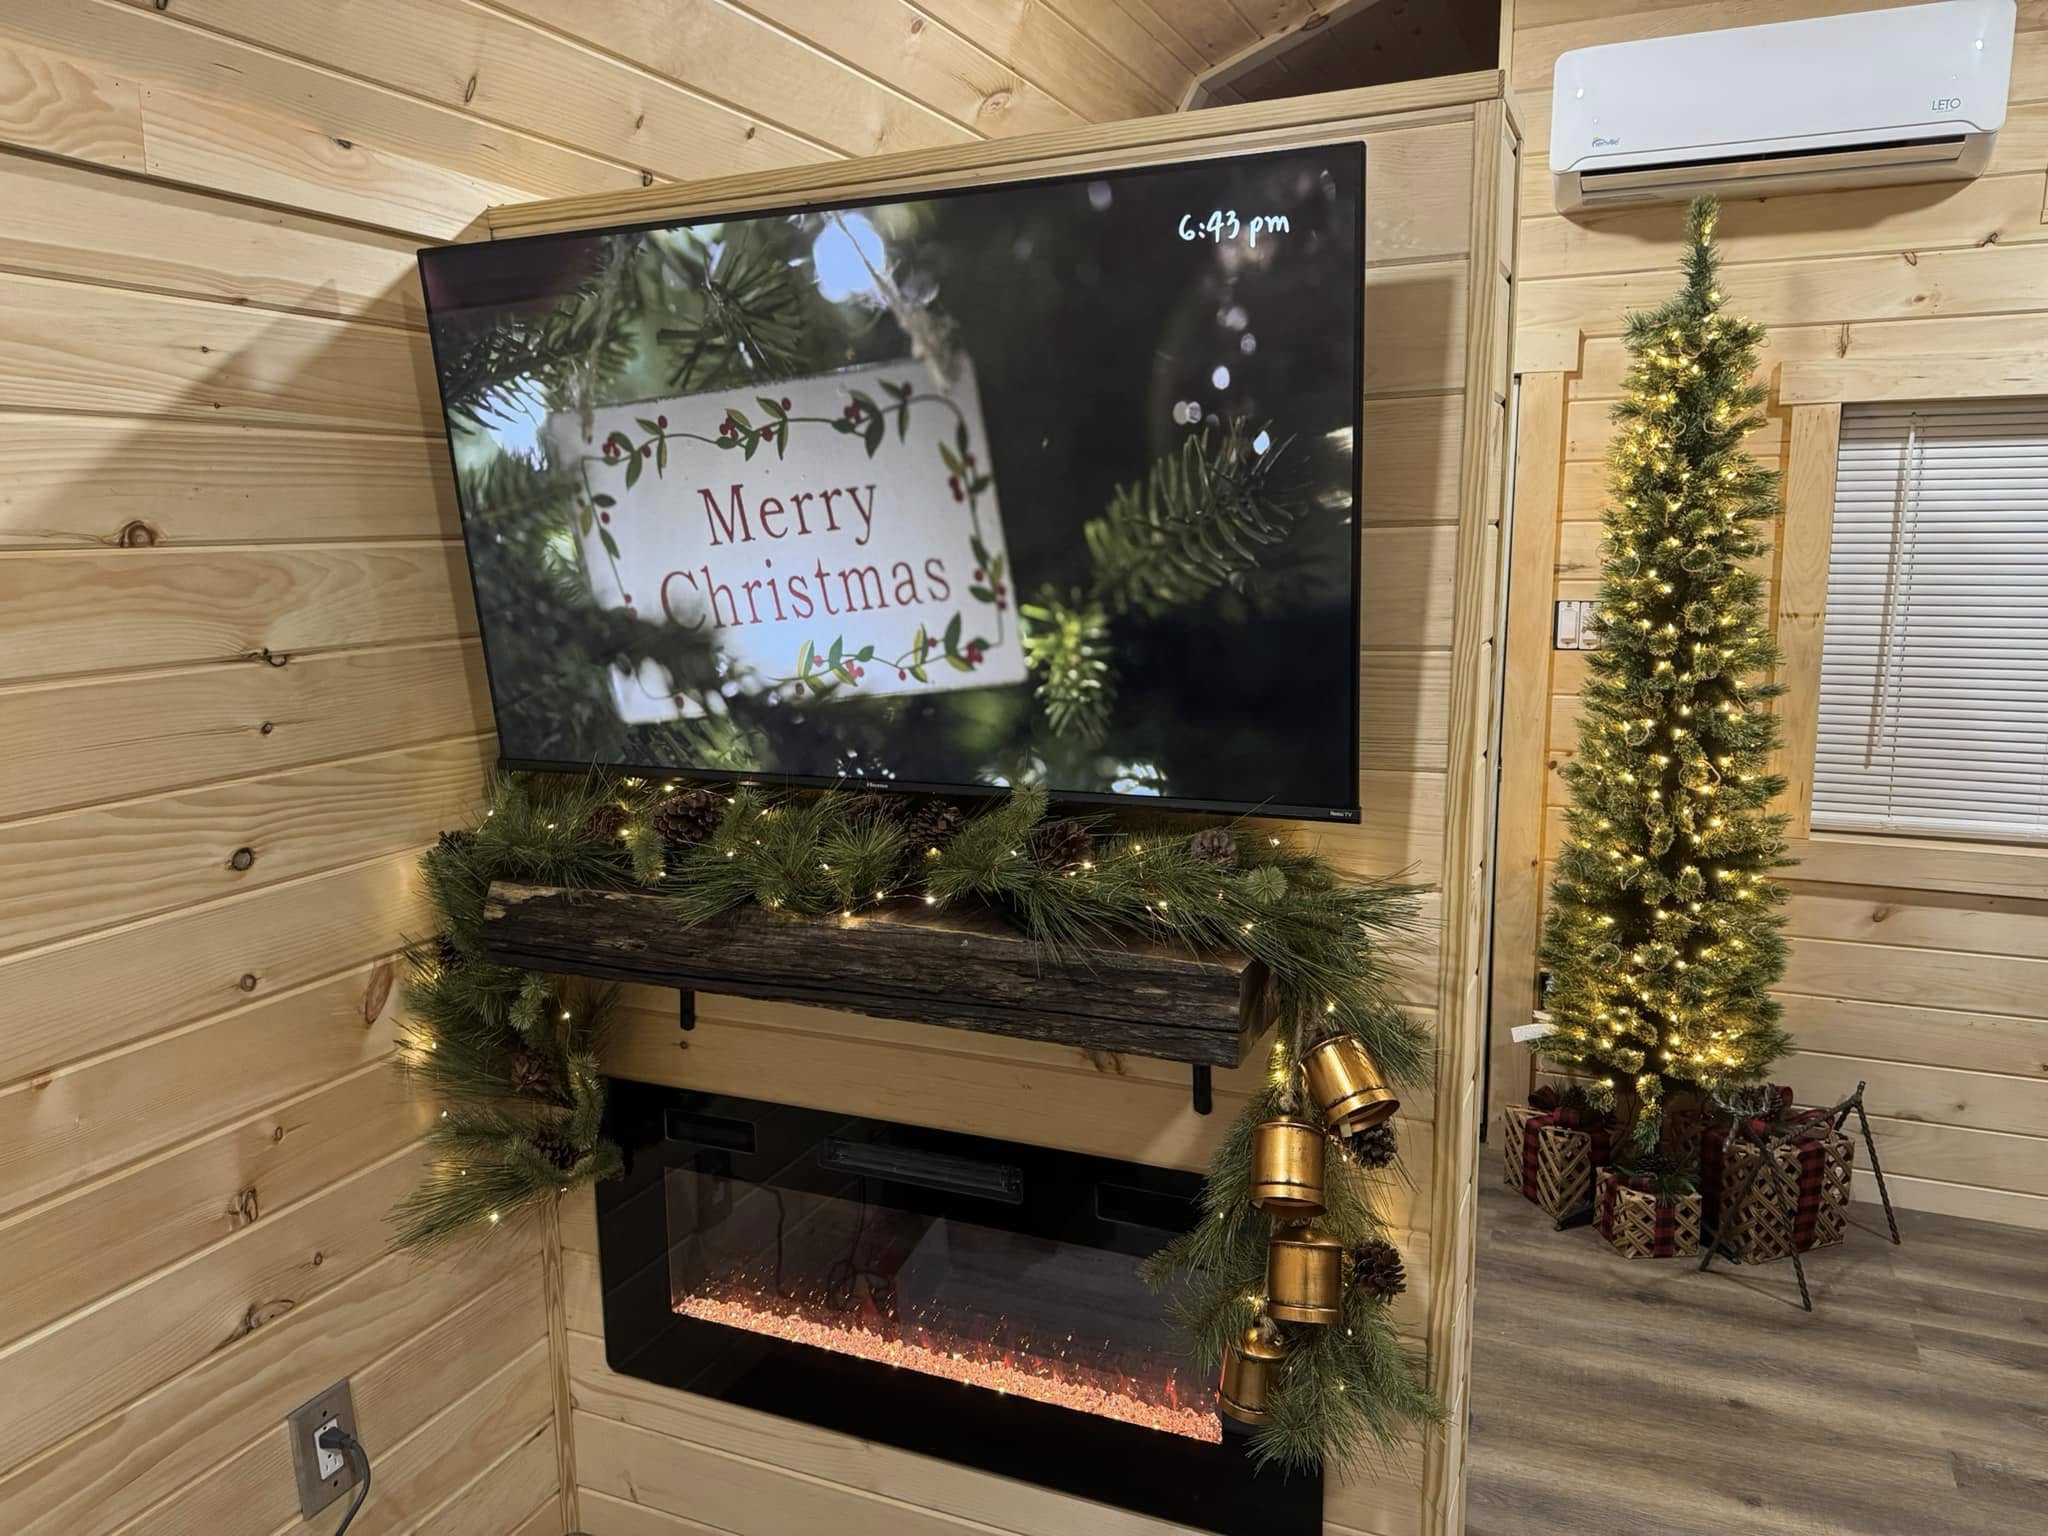
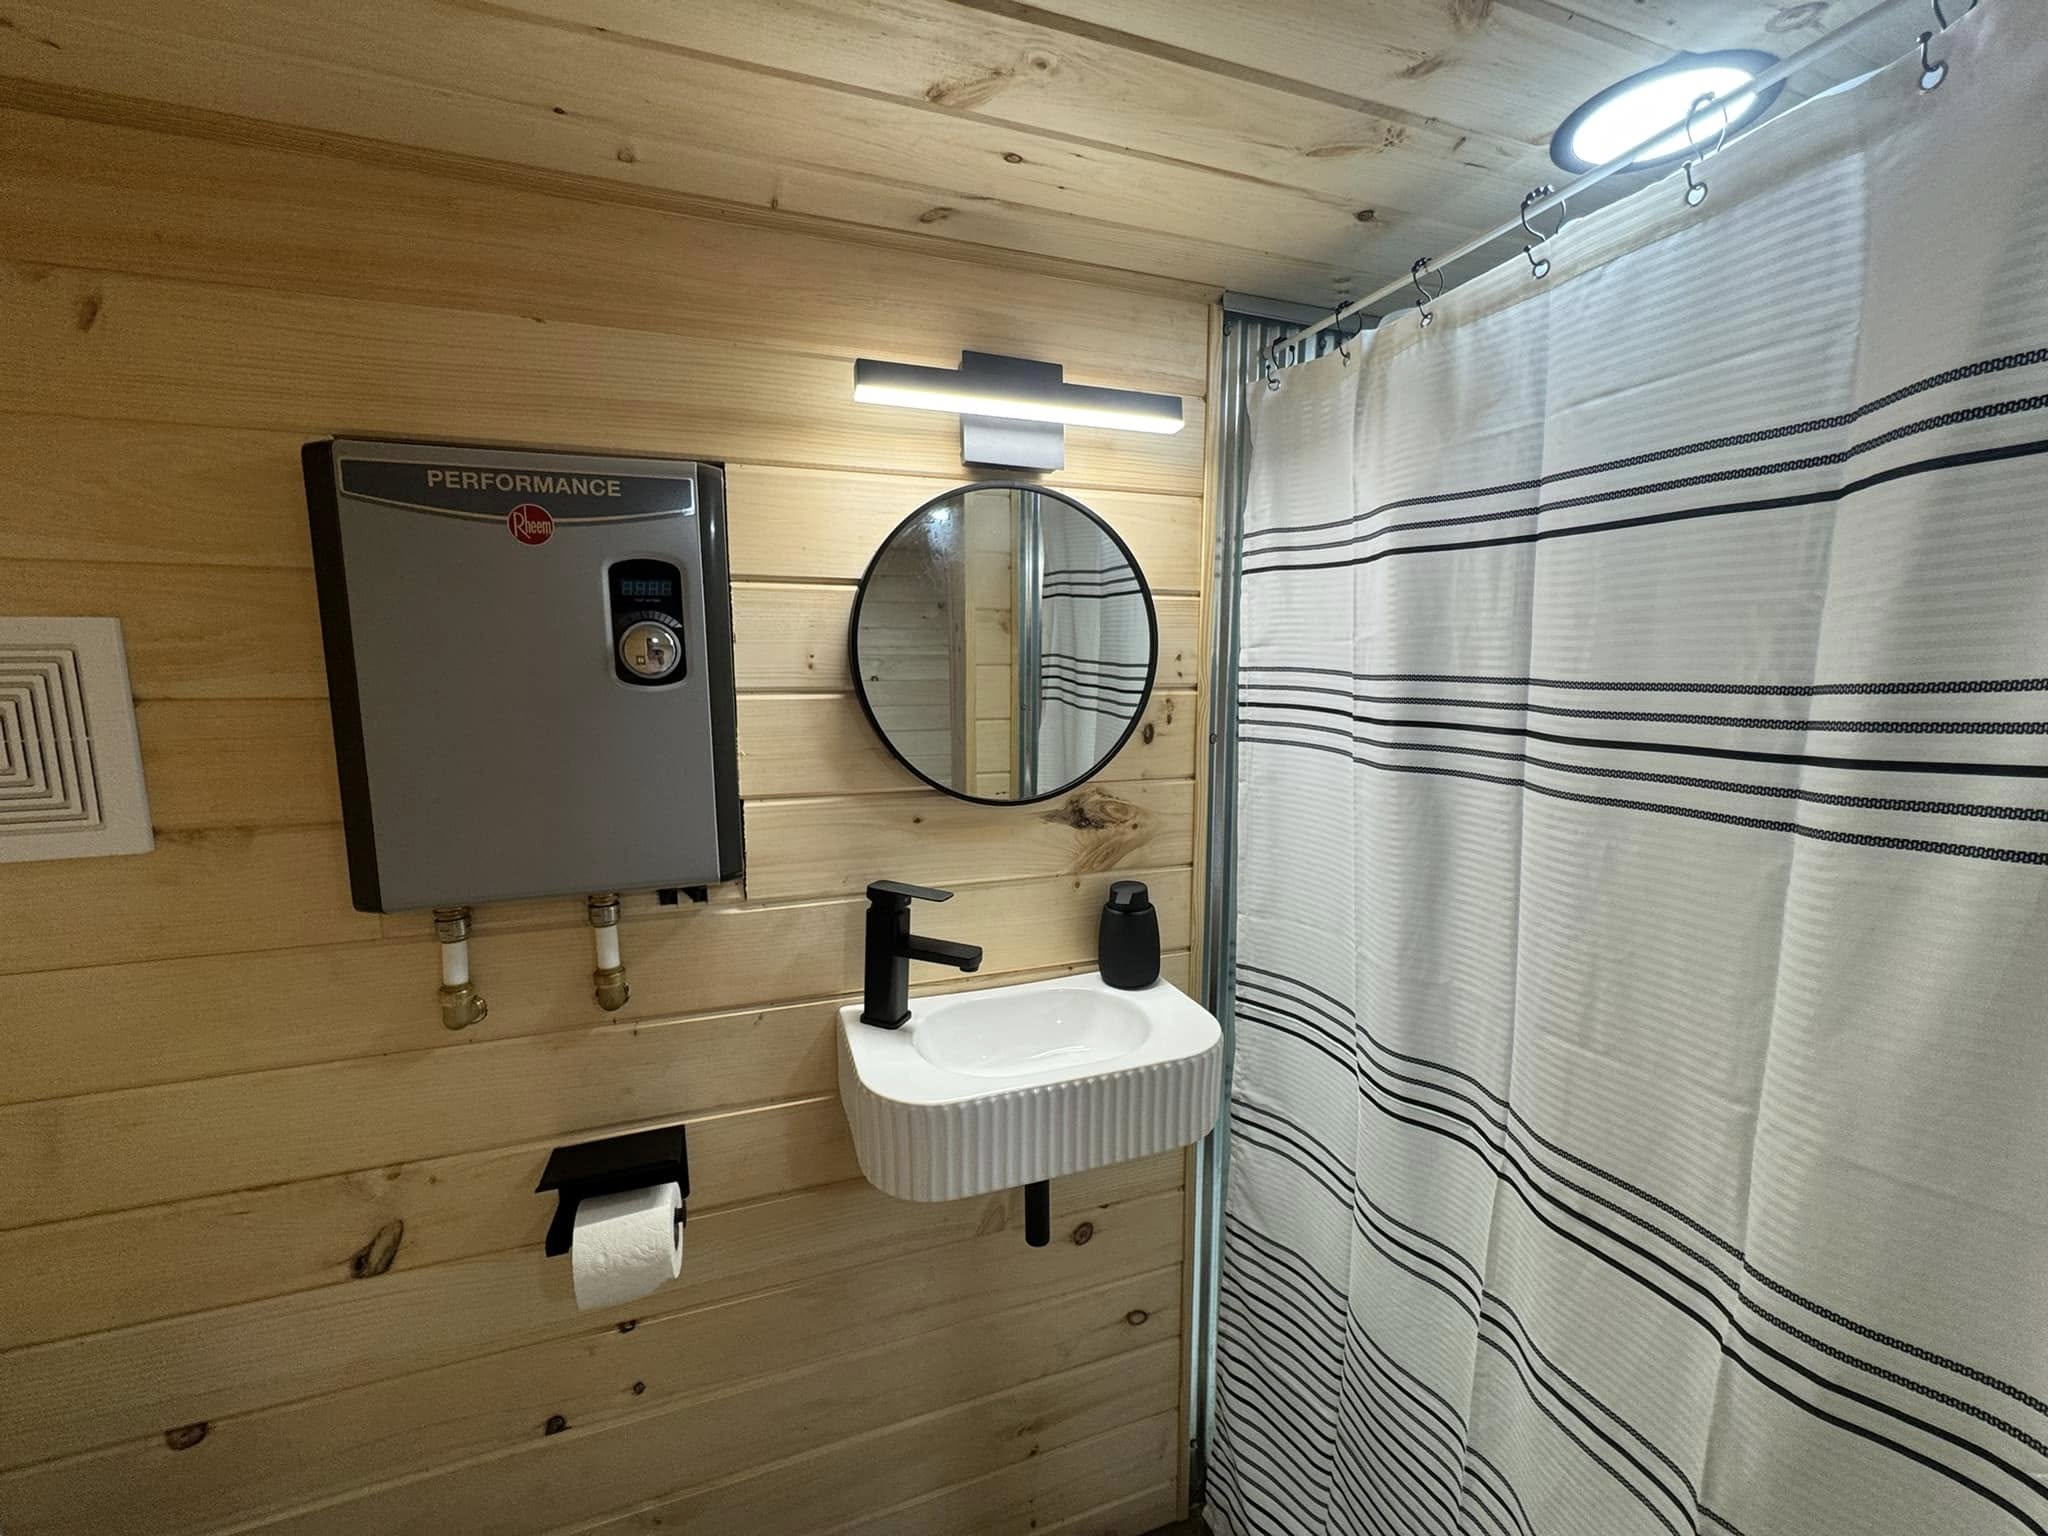
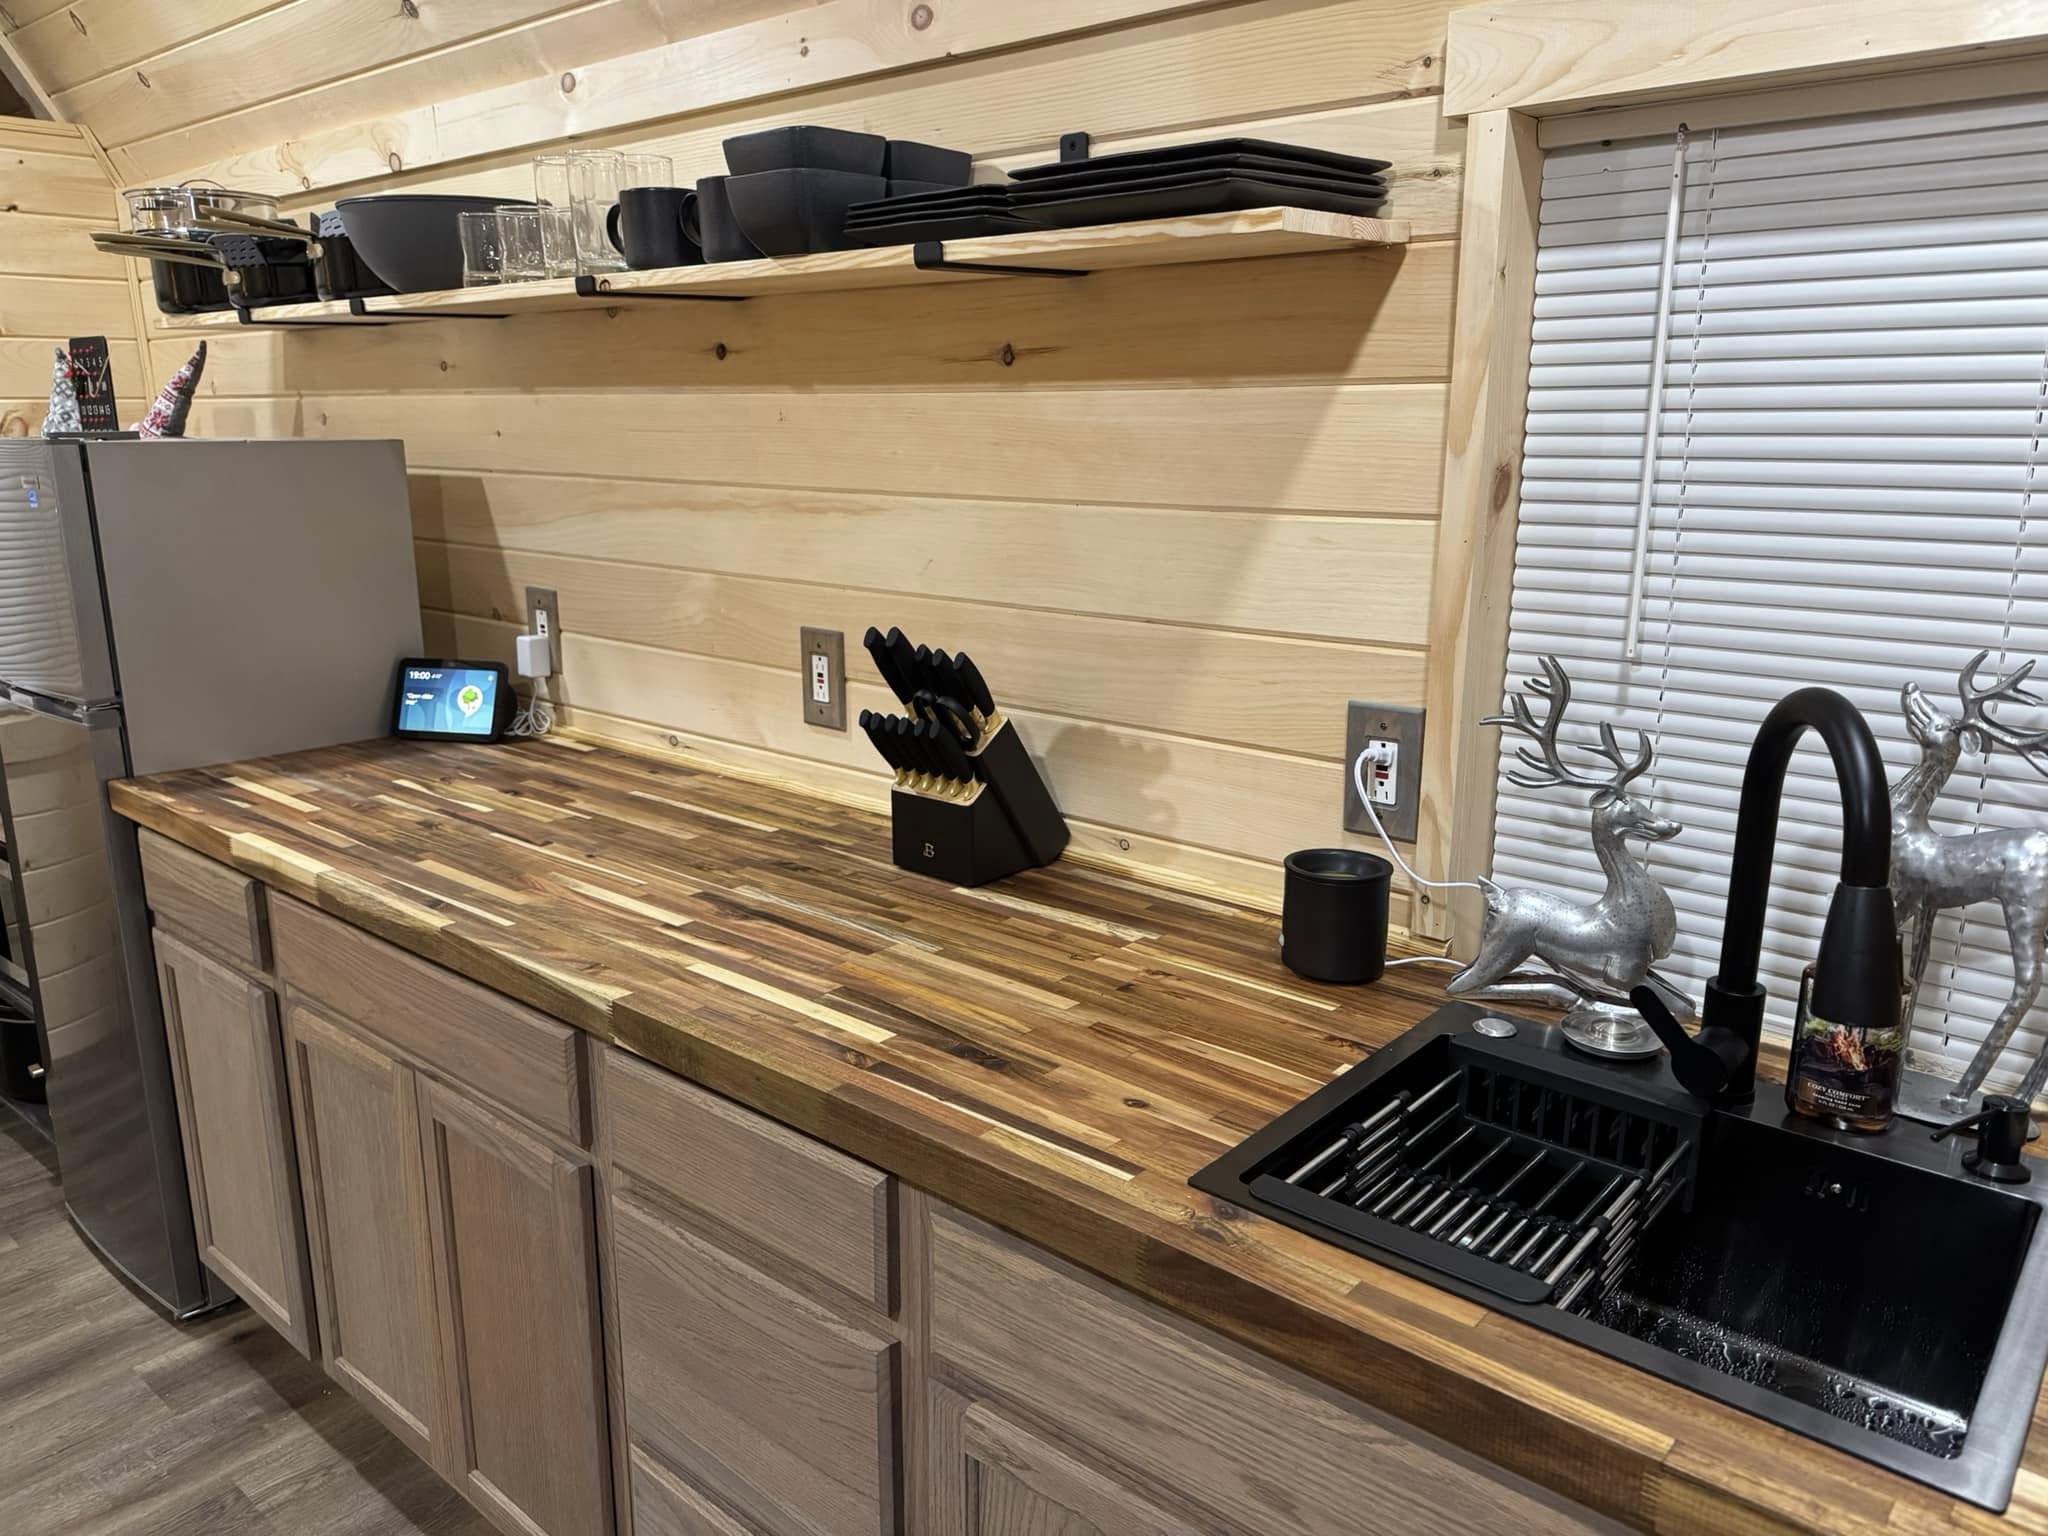
I began by dividing the space into functional zones. The end of the shed would serve as the living room area, where I could relax and entertain guests. The middle section became the kitchen and dining area, while the back of the shed would house the bathroom and sleeping quarters. I also included a small storage closet and room for a washer and dryer to make the home as self-sufficient as possible.
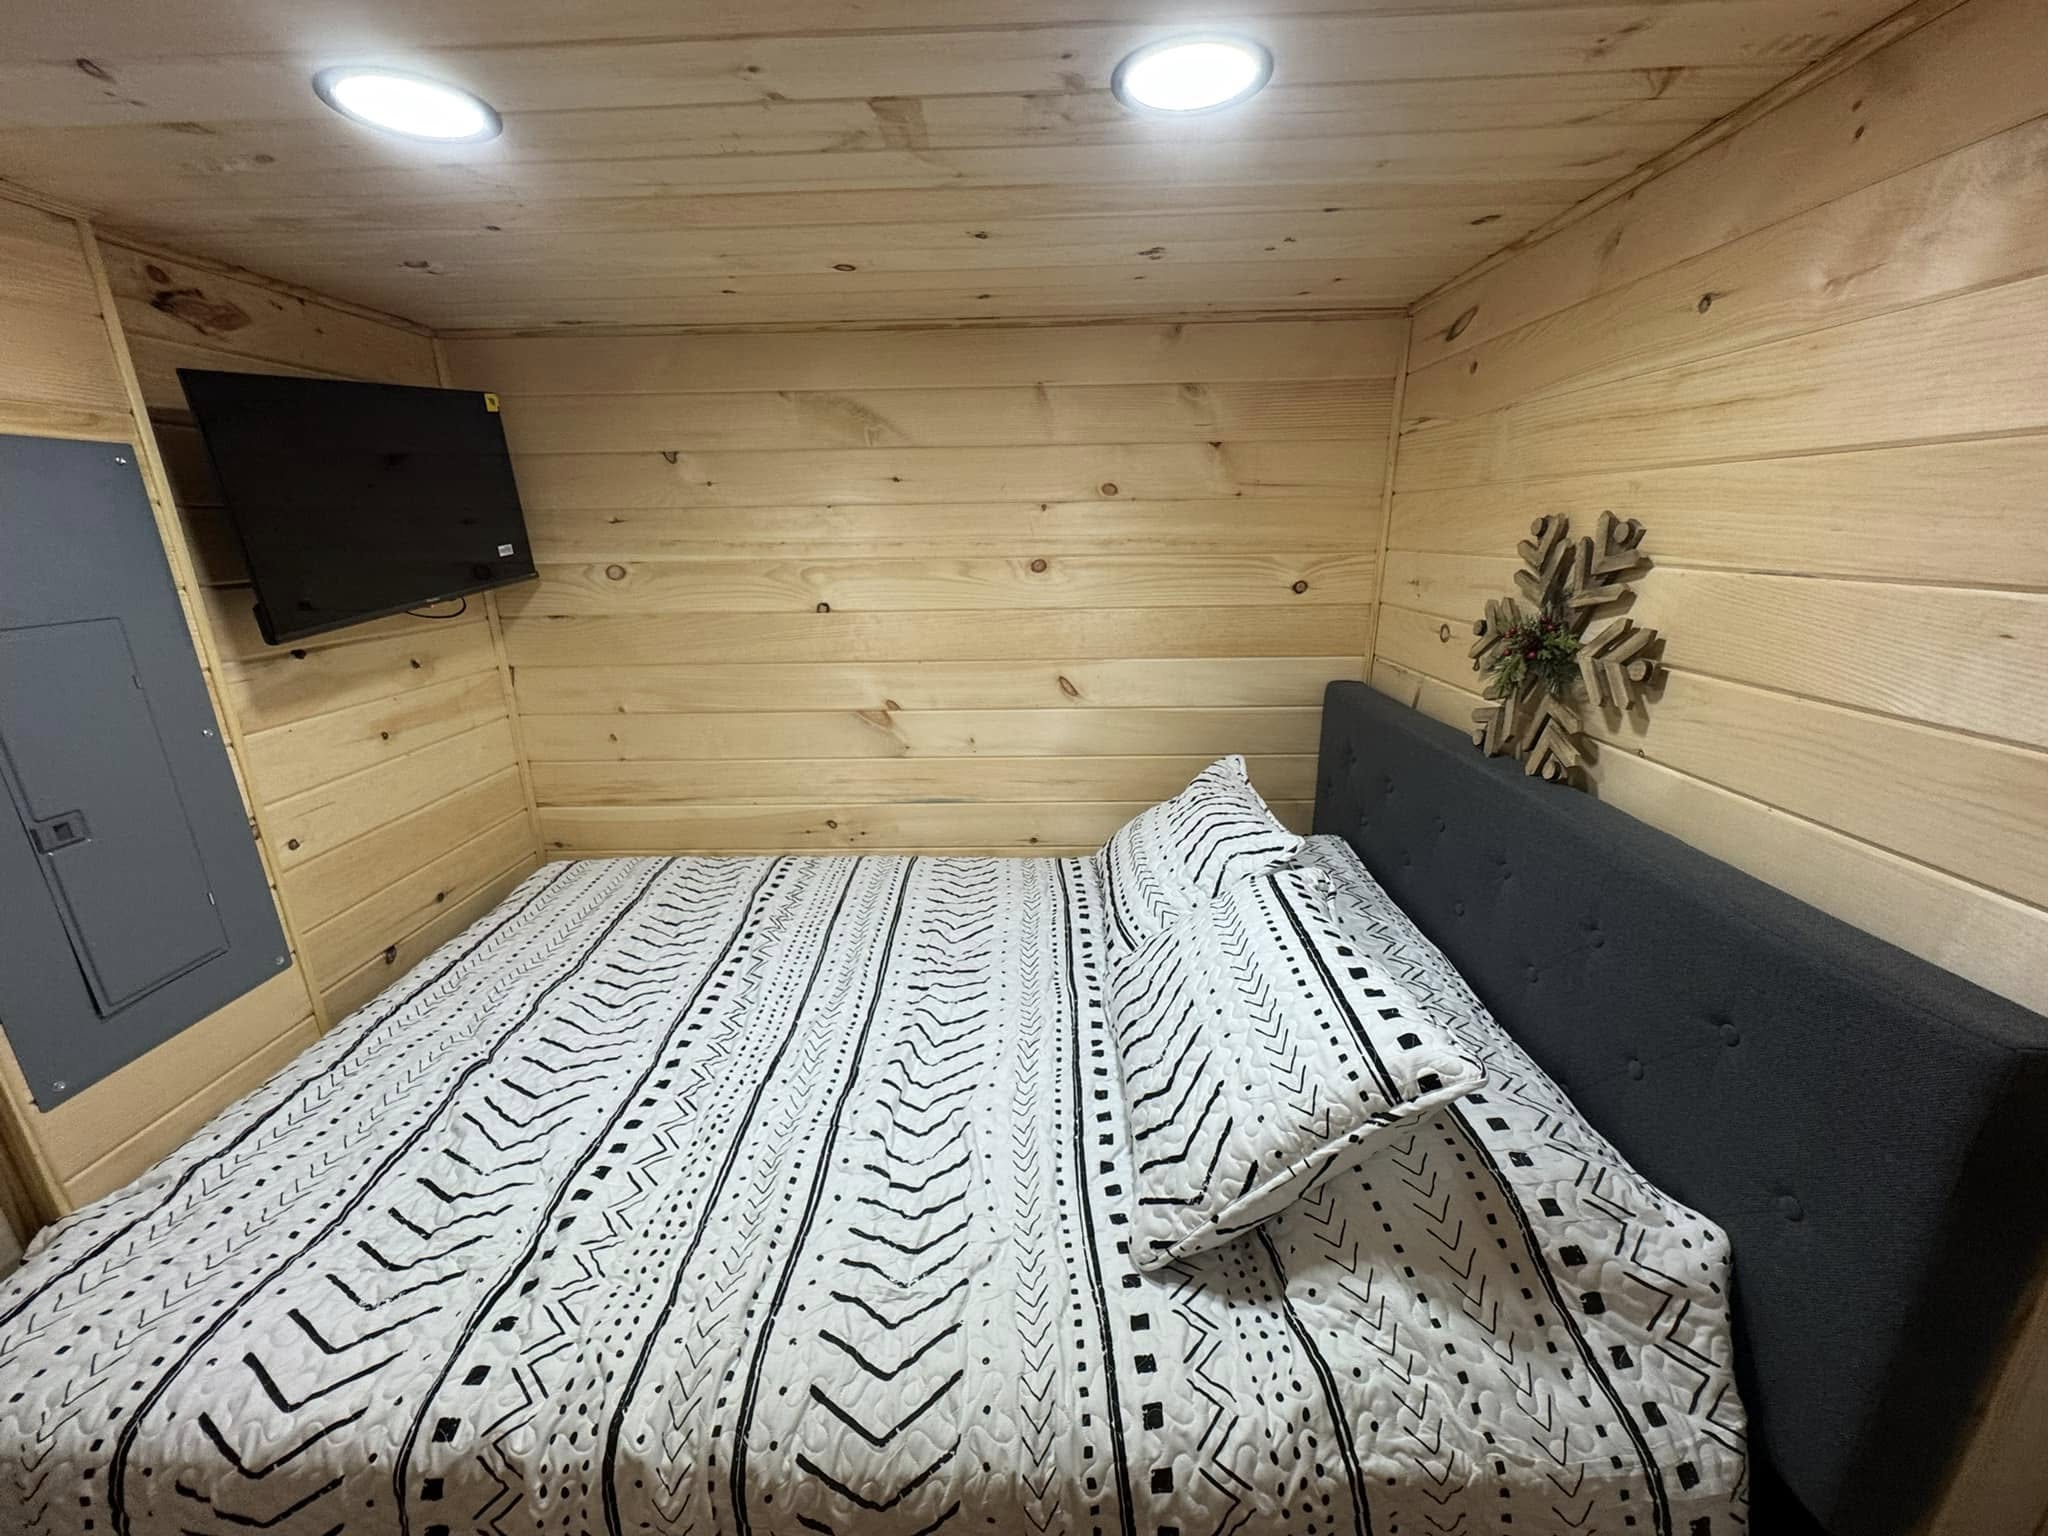
When it came to choosing materials and finishes, I wanted a blend of modern comfort and rustic charm. I opted for wood paneling on the walls to give the space a warm, inviting feel, while using light-colored flooring to keep the interior feeling open and airy. For the furniture, I chose pieces that could serve dual purposes, such as a fold-out couch and a compact dining table with built-in storage.
The Build: DIY Challenges and Triumphs
With the design in hand, it was time to get to work. I took a hands-on approach to much of the build, tackling everything from the plumbing to the drywall installation. There were certainly challenges along the way, but each obstacle was an opportunity to learn something new.
- Insulation and Climate Control:
One of the most important aspects of the transformation was ensuring that the shed would be comfortable year-round. Since the shed wasn’t originally designed as a living space, insulation was a top priority. I added rigid foam insulation in the walls and ceiling to help regulate the temperature. I also installed energy-efficient windows to let in natural light while keeping the space insulated. - Plumbing and Electricity:
Converting a shed into a fully functional home required adding plumbing and electrical systems. This was one area where I sought professional help. Running water and electrical wiring through the walls and floors was tricky, but with the help of an experienced plumber and electrician, everything came together. The kitchen now has a sink, a small refrigerator, and an electric stove, while the bathroom features a shower, toilet, and sink. - Space-Saving Solutions:
Given the compact size of the shed, maximizing every inch of space was essential. I installed floating shelves on the walls, added under-bed storage in the sleeping area, and used multi-functional furniture to ensure the space was as efficient as possible. A built-in desk in the living room area serves as both a workspace and a decorative element. - Finishing Touches:
Once the major construction was complete, it was time to focus on the finishing touches. I painted the walls with a soft neutral color palette to make the space feel light and airy. Statement light fixtures were added to each room to enhance the ambiance. The addition of plants throughout the shed brought in a touch of greenery, making it feel like home.
The Challenges: Patience and Problem-Solving
The road to completion wasn’t without its challenges. At times, it felt like the project would never be finished, but I kept pushing forward. Some of the key hurdles included:
- Budgeting: The cost of materials and professional help added up quickly. I had to get creative with my spending, often hunting for deals or repurposing materials I already had. I also made sure to DIY as much as possible to save money without sacrificing quality.
- Time Management: Juggling the conversion with other responsibilities in my life meant that progress was often slower than expected. It took time to make the space livable, and there were moments when it felt overwhelming. But breaking the project down into smaller tasks helped me stay motivated and focused.
- Unexpected Issues: Of course, there were unexpected issues that arose, from faulty plumbing to minor structural concerns. But every problem was met with a solution, and each time I overcame an obstacle, the sense of accomplishment made the journey worthwhile.
The Finished Product: My 12×28 Sanctuary
Now that the transformation is complete, I can truly say that this little shed has become my sanctuary. The combination of smart design, creative problem-solving, and a lot of hard work has resulted in a space that is both functional and beautiful. Every corner of the shed now serves a purpose, and there’s a real sense of peace and comfort in the space.
The cozy living room area is perfect for unwinding at the end of the day, and the kitchen is ideal for cooking meals in my new home. The bedroom feels restful and private, and the bathroom, though compact, has all the modern conveniences I need.
Most importantly, the transformation from a simple shed into a fully realized home has given me a renewed sense of pride and achievement. It’s a reminder that, with some creativity, effort, and vision, anything can be turned into something extraordinary.
Conclusion: The Joy of Transformation
The journey from shed to sanctuary has been a transformative one, both literally and figuratively. Not only have I gained a new home, but I’ve learned invaluable lessons about perseverance, design, and the satisfaction that comes with creating something from scratch. For anyone considering a shed-to-home conversion, I can wholeheartedly say it’s a rewarding project that will give you a space you can truly call your own.
This 12×28 shed has proven that with determination, creativity, and a little elbow grease, even the simplest structures can be turned into something extraordinary. It’s not just a home; it’s a testament to the power of transformation.