After months of planning, hard work, and a lot of sweat, my summer project is finally complete! What started as a simple idea has transformed into something I’m incredibly proud of. From building materials to design choices, every detail has come together beautifully, and now, I can’t wait to share the finished product with you.
This summer project wasn’t just a way to pass the time—it was a passion project that allowed me to tap into my creativity, learn new skills, and, of course, enjoy the satisfaction of building something from scratch. Let’s dive into what I built, how I did it, and the challenges and triumphs along the way.
The Inspiration: Turning an Idea into Reality
It all started with a single idea. I knew I wanted to create something that would be both functional and visually appealing. After tossing around several ideas, I landed on building a custom outdoor workspace. With more people working from home and needing a change of scenery, I decided that creating an outdoor office space would be perfect for my needs and a great way to get outside while still being productive.
The goal was to create a small, weather-resistant structure that would function as a quiet retreat—a space to work, think, and relax, all while being surrounded by nature. It needed to be cozy, functional, and stylish, with enough room for a desk, seating, and a few shelves for organization. Plus, it had to withstand the elements, so I was committed to using durable, weather-resistant materials.
Planning and Design: Blueprint for Success
Before picking up a single tool, I spent a lot of time planning the design and layout of the space. I knew I had a limited area to work with, so I had to make every inch count. The dimensions I worked with were about 10×12 feet, which would give me just enough room for a small desk, some shelves, and a comfortable chair.
I sketched out a rough blueprint and made sure to include all the elements I wanted in the space. Here are some of the key features I planned for:
- Open, airy design: I wanted plenty of natural light, so I made sure to incorporate large windows on two sides of the structure.
- Compact but functional layout: I designed a multi-purpose desk with built-in shelves underneath to maximize storage without taking up too much space.
- Outdoor elements: To create a seamless connection with the outdoors, I included a small deck out front and added plants around the workspace.
Once I had the design locked in, it was time to gather materials and get started!
The Build: From Ground to Roof
The next step was to turn the design into a reality. I knew this project would be a challenge, but I was determined to take it on myself. With a basic set of tools, I got to work. Here’s a breakdown of how the build came together:
- Foundation and Flooring:
The first step was to level the ground and lay the foundation. I used pressure-treated lumber to create a solid base and added plywood flooring to create a sturdy, stable surface. This was critical, especially since the structure would be exposed to the elements. I made sure the foundation was level and secure before moving on. - Building the Walls:
Once the foundation was in place, I began framing the walls. I opted for wooden studs and used a simple framing technique to create the skeleton of the walls. I also made sure to leave spaces for windows and a door. The process of putting up the walls was both exciting and challenging, as I had to make sure everything was square and level. - Roofing and Weatherproofing:
After the walls were up, I moved on to the roof. I decided to go with a slanted roof design to allow for better water drainage and a more modern aesthetic. I used metal roofing sheets for durability, which would help keep the space dry during rainy weather. I also made sure to add proper insulation to help keep the space comfortable, especially when the weather turned hot or cold. - Windows and Doors:
Installing the windows and door was one of the most satisfying parts of the build. I chose double-paned windows for energy efficiency and opted for a simple wooden door to match the rustic feel of the project. The windows let in an abundance of natural light, making the space feel open and airy. - Finishing Touches:
With the basic structure in place, it was time to add the finishing touches. I painted the exterior with a weather-resistant stain to protect the wood and give it a polished look. I also added outdoor lighting to ensure the space could be used after dark. Inside, I set up my desk and shelving, adding some personal touches like artwork and plants to make the space feel like a true home office.
The Challenges: Problem-Solving Along the Way
While the build was an exciting and fulfilling process, it didn’t come without its challenges. One of the biggest hurdles I faced was dealing with the weather—some days were too hot to work, while others were too rainy. There were moments when it felt like progress was slower than expected, but I learned to work around it by adjusting my schedule and pace.
Another challenge was the budget—I had a set amount of money to spend on materials, and finding quality materials within that budget was a balancing act. I had to get creative, sometimes repurposing materials I already had, or finding affordable alternatives for more expensive items.
Finally, there were some unexpected design challenges along the way, particularly when it came to the roofline and making sure it was structurally sound. But, with a little research and some trial and error, I was able to solve those problems and move forward.
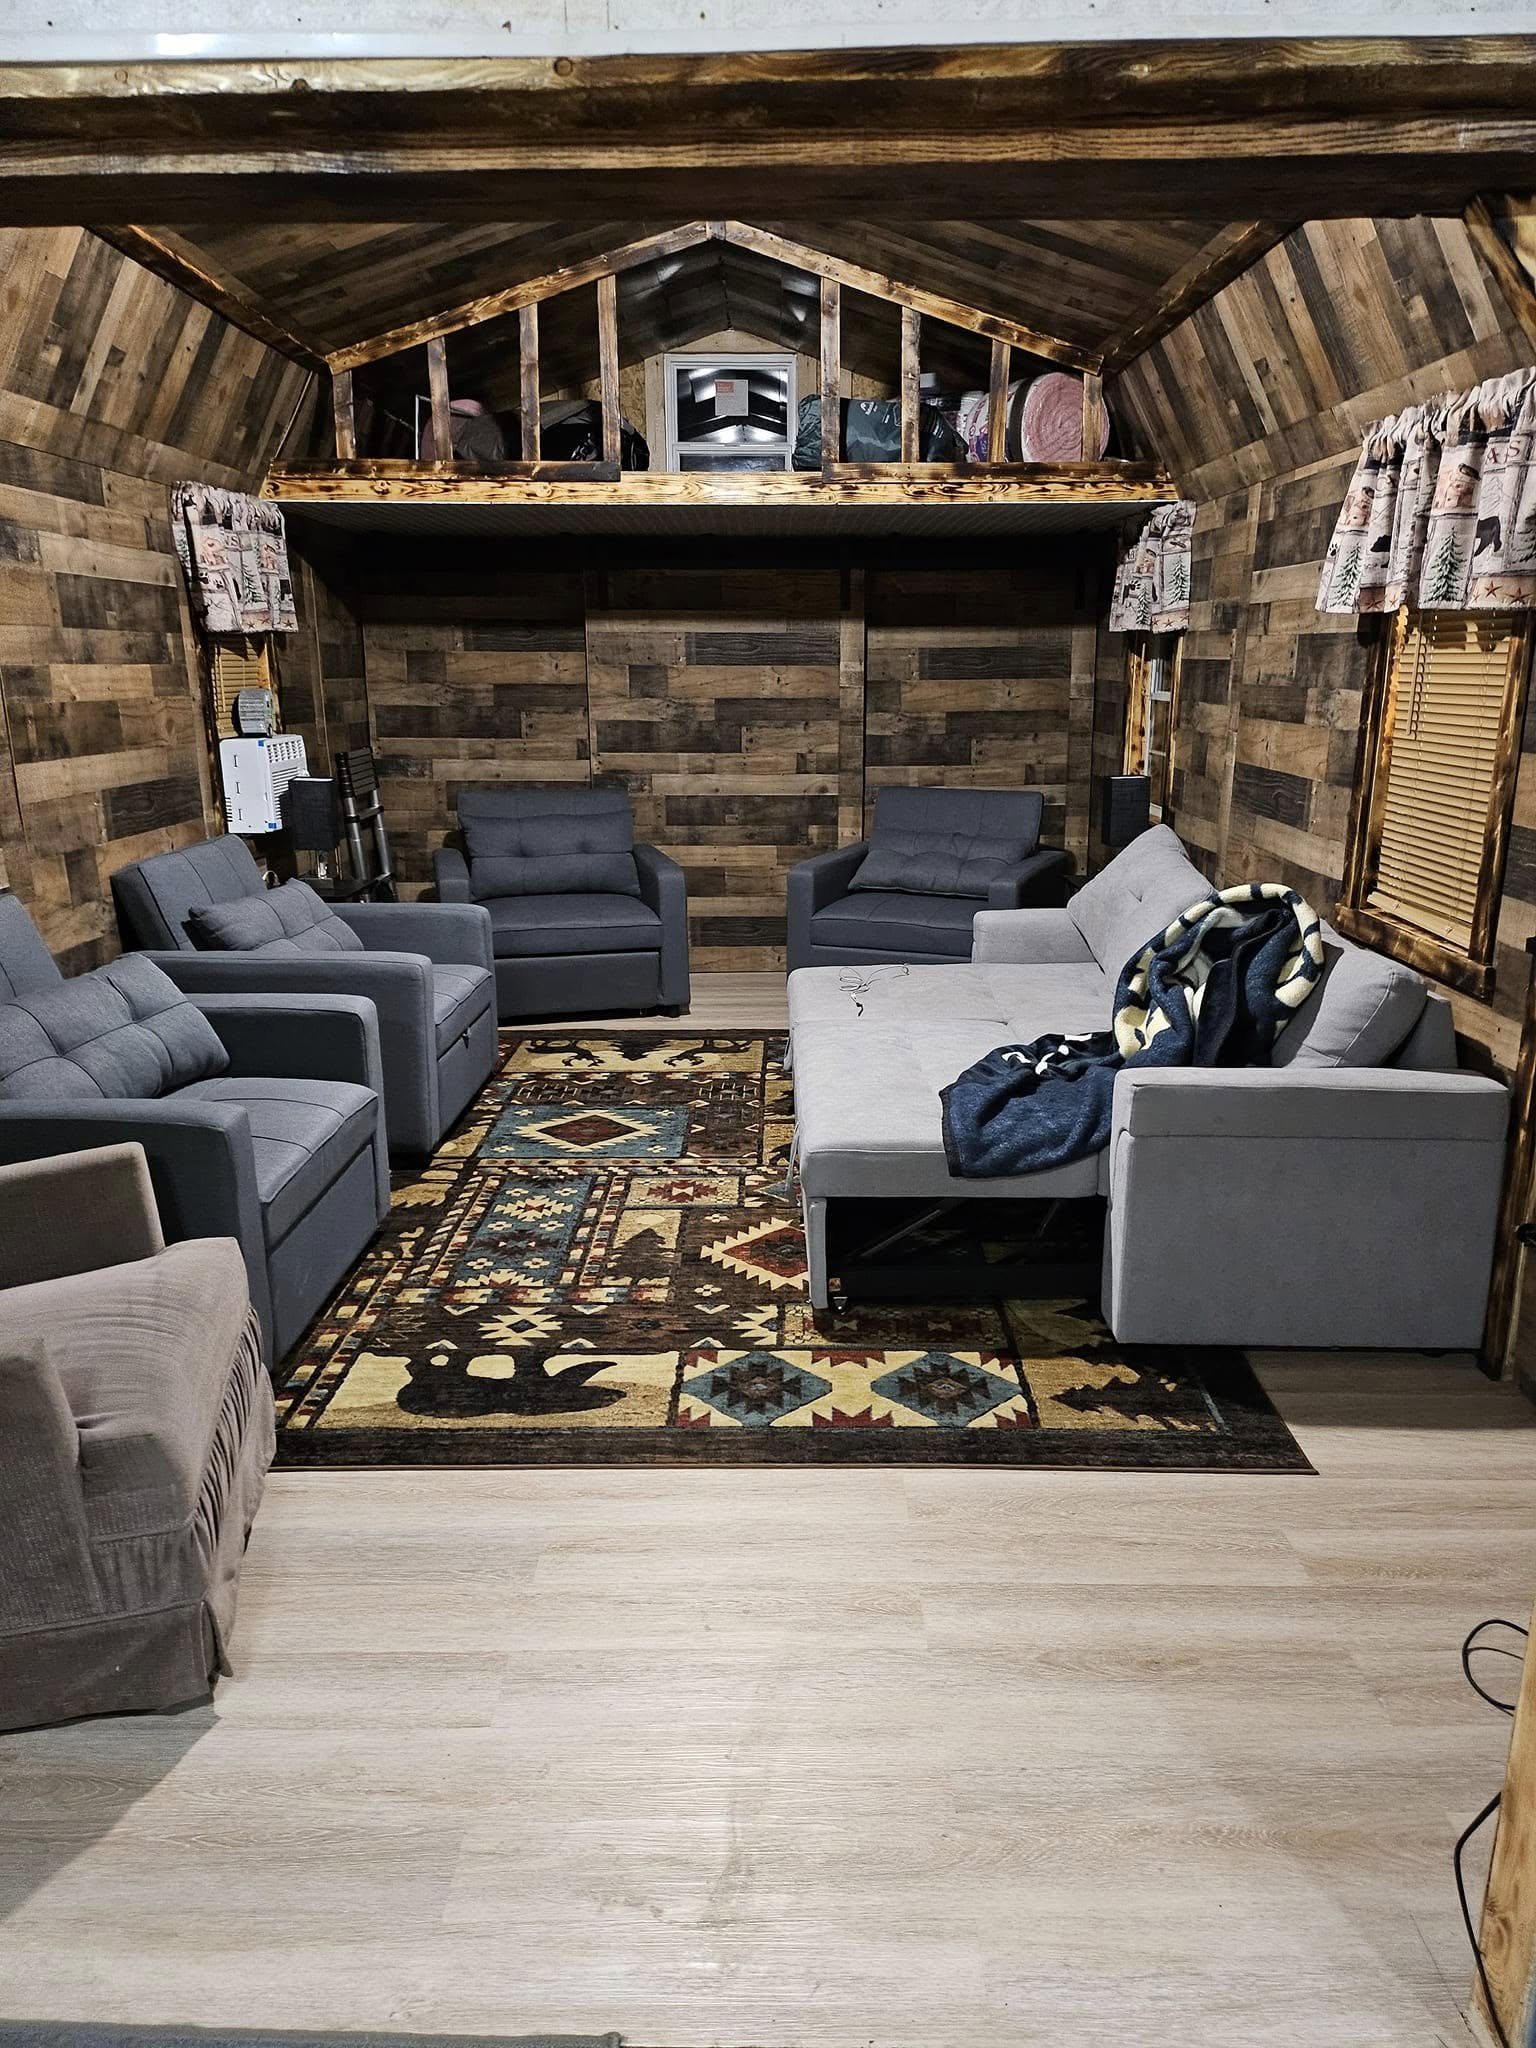
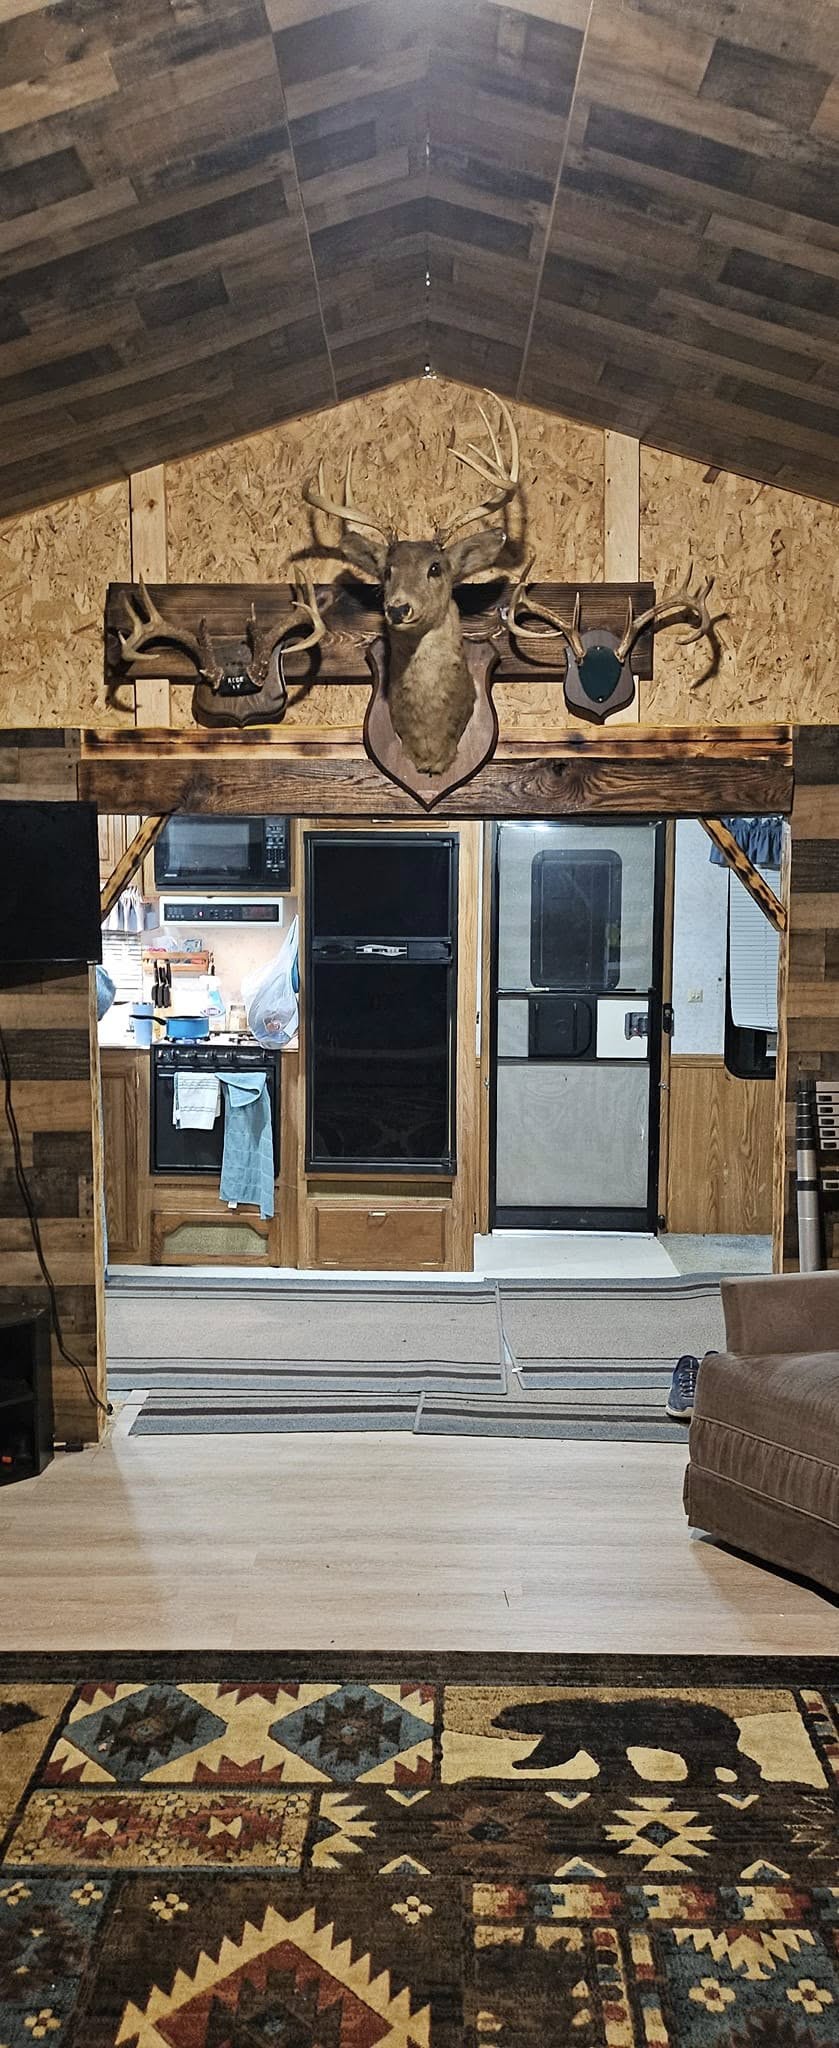
The Finished Product: My Perfect Outdoor Workspace
Now that the project is complete, I can say with confidence that all the hard work was absolutely worth it. The finished structure is more than just a workspace—it’s a sanctuary. The natural light streaming through the windows creates a peaceful and inspiring atmosphere. I’ve added a comfortable chair, a functional desk, and shelves for my supplies, making it the perfect spot for both work and relaxation.
Outside, the small deck is ideal for enjoying the fresh air, whether I’m taking a break or hosting a small gathering. The overall aesthetic blends seamlessly with the natural surroundings, making it a true extension of my outdoor living space.
Lessons Learned: What This Project Taught Me
This summer project has been a journey full of lessons, both in building and in life. Here are a few of the most important takeaways:
- Patience is key: There were many moments when I wanted to rush through, but I learned that taking my time and focusing on quality makes all the difference.
- DIY is a learning experience: Even if you don’t have all the skills from the start, the process of figuring things out is incredibly rewarding.
- Creativity can solve problems: When challenges arose, creative solutions helped me move past obstacles and make the project work.
Conclusion: The Joy of Building Something From Scratch
“Summer Project Complete: Check Out What I Built!” is more than just a catchy title—it represents the culmination of a personal challenge, a labor of love, and a space that reflects my own vision. It’s not just a structure; it’s a reminder that with dedication, creativity, and hard work, we can create something truly special.
Whether you’re thinking about starting your own summer project or just love seeing DIY transformations, I hope my journey inspires you to tackle your own projects. There’s nothing quite like the feeling of stepping back and admiring something you’ve built with your own hands.